The Simple Process
From measuring your energy usage with a smart plug to final app configuration, we’ve mapped out the exact path to building a renter-friendly solar setup that actually lowers your bill.

First: Where can you put solar panels and connect a battery?
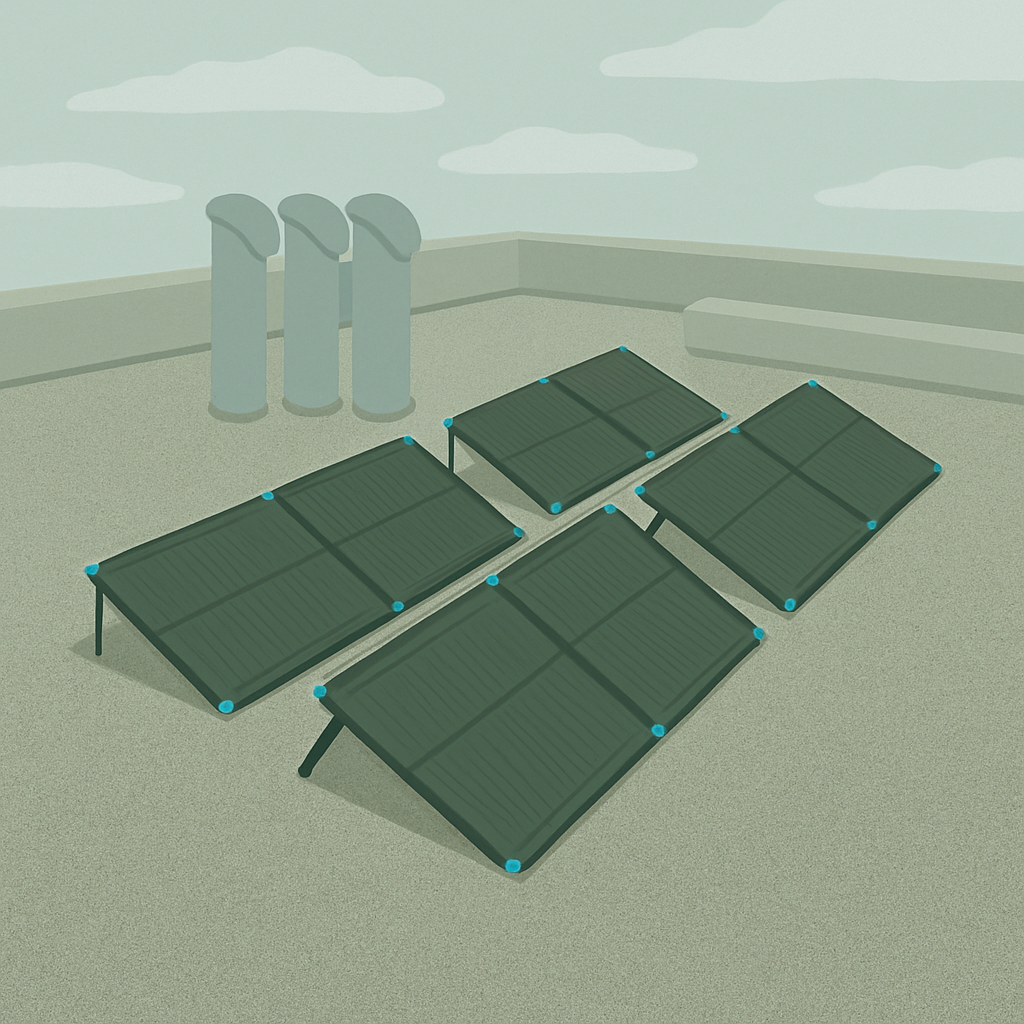
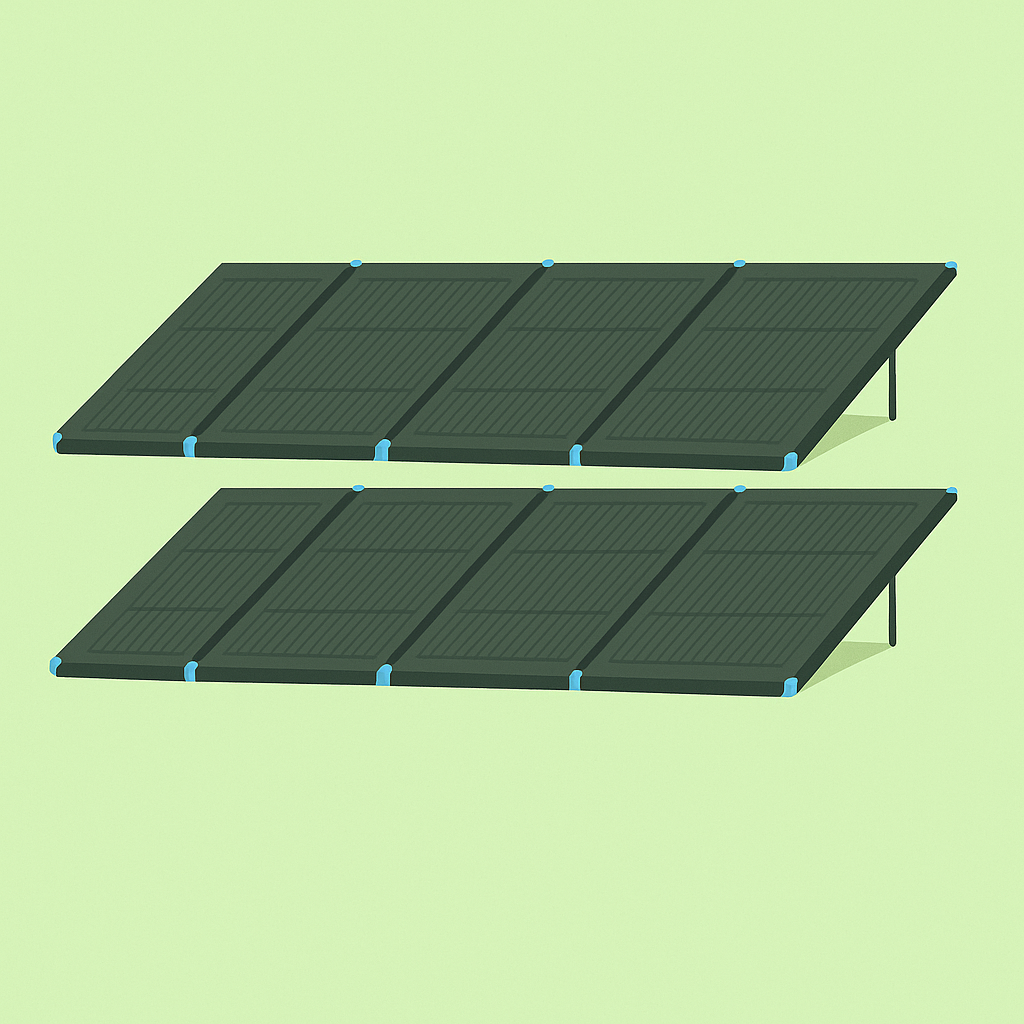
Find a spot for your Solar Panels
Find a spot thats South facing, Or as south as you can find. Think balcony railing, roof top, little path some space next to it... Whatever you’ve got!
How many panels can fit here?
The panel we recommend takes up: 73x28 inches.
How can you secure them?
Could you use sand or water bags on the panels legs in this spot?
Any way to tie it down with rope?
Or could you use strong Zip Ties to connect to a railing?
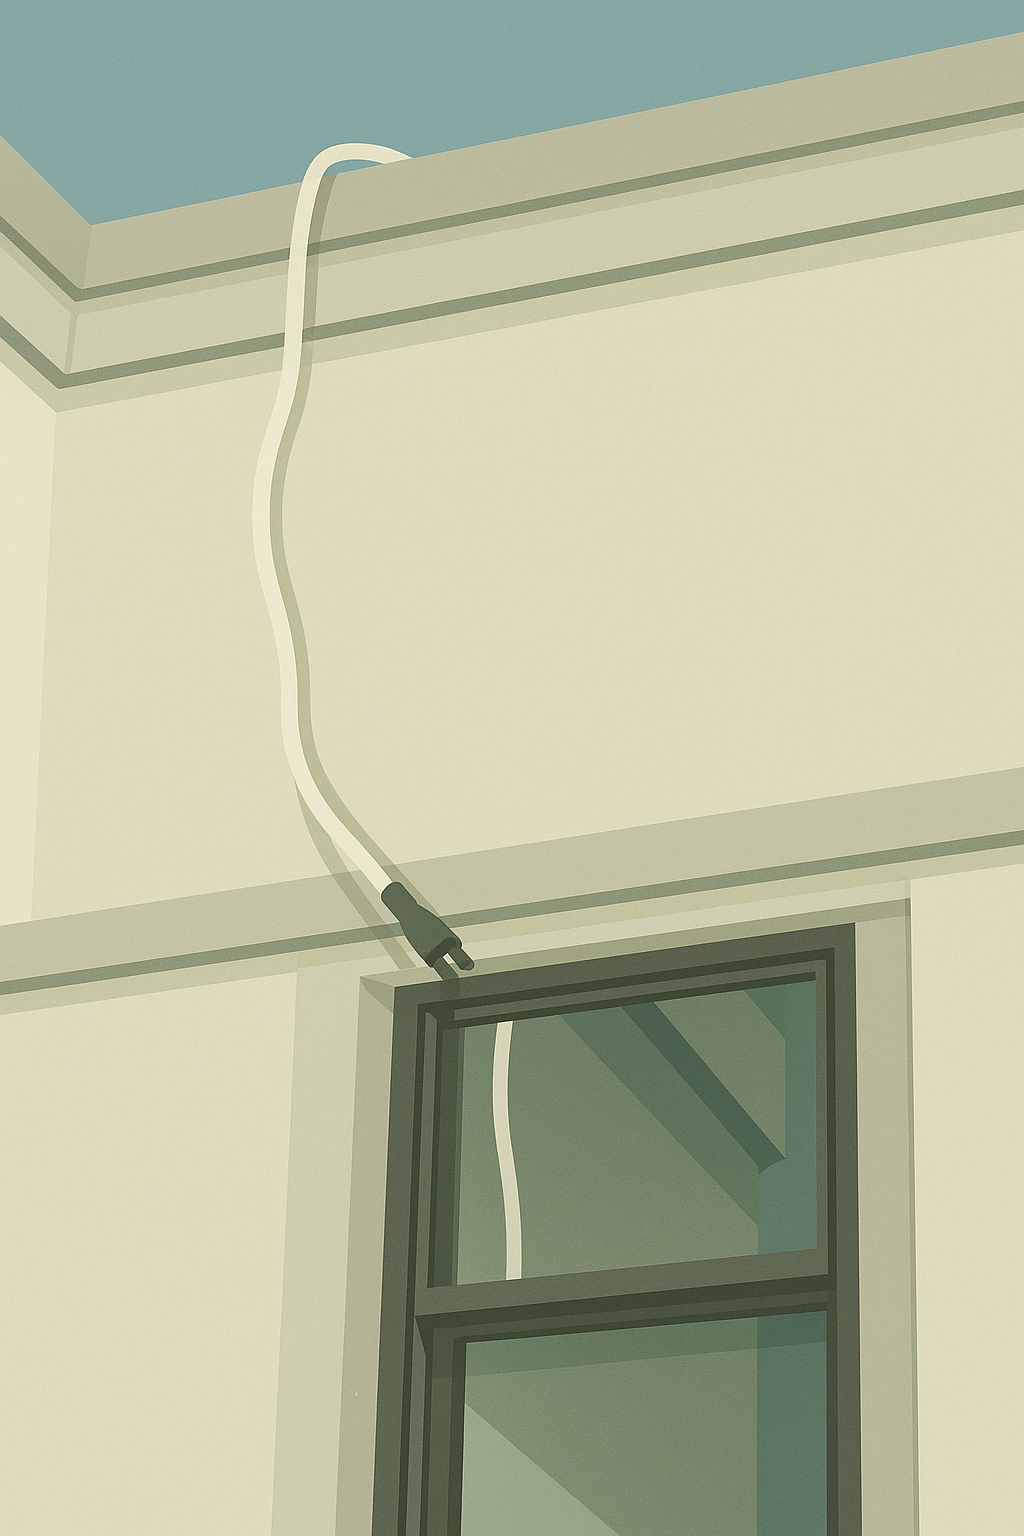
Identify how the solar power cables will enter your apartment 🤔
The spot you pick for the solar panels needs to have an entry point into your home with-in 10 feet of it...
Windows and old vents no longer used can be great. Just make sure there are no sharp edges that could cut or wear down the cable over time.
Flat window cables make it so easy to bring this through a window you don’t need to open often.
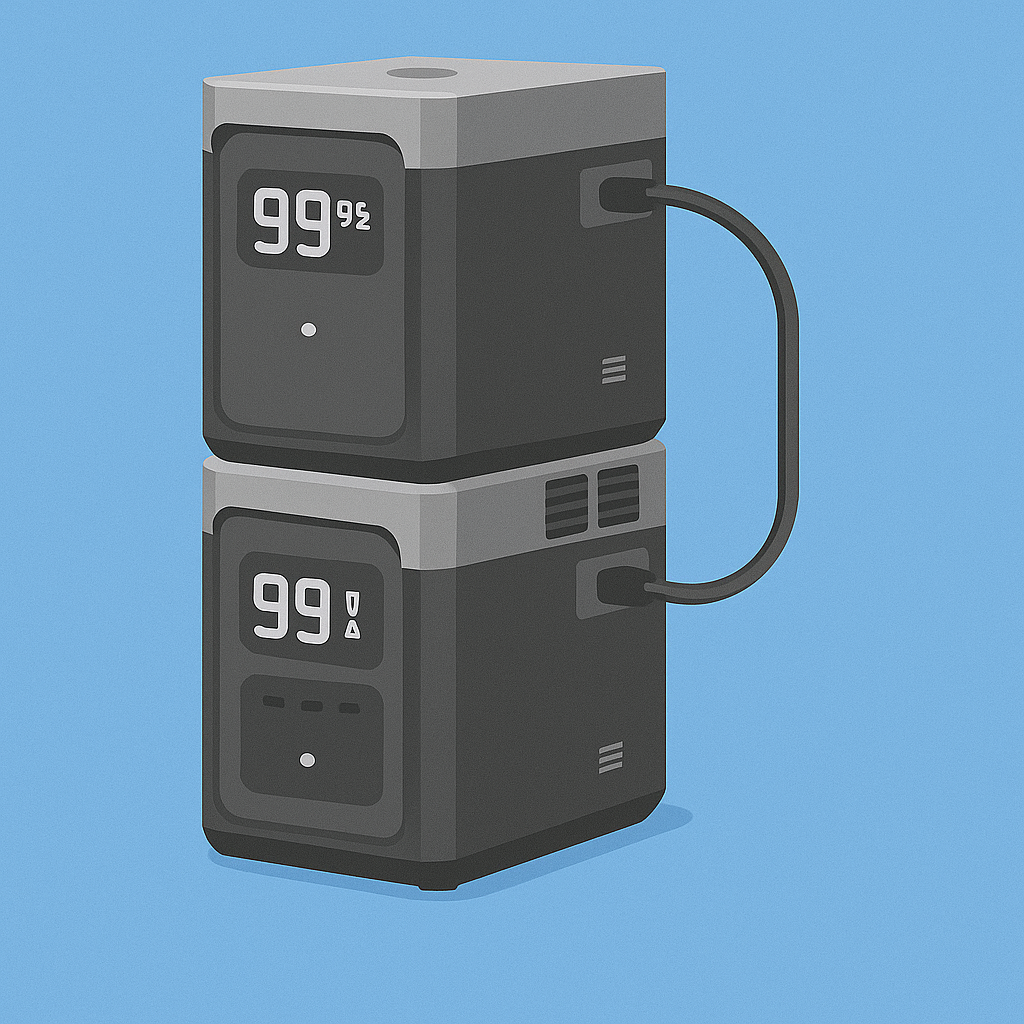
Pick a home for the new Battery
This should be close to where the solar cables come in & close to where the power will be needed.
Find a spot that satisfies all 3 of these needs can be tough but think out side the box and consider different spots.
Next: The simple process to build your own renter friendly balcony solar setup
2
Measure your actual usage
No need for math or wondering how much power you use!
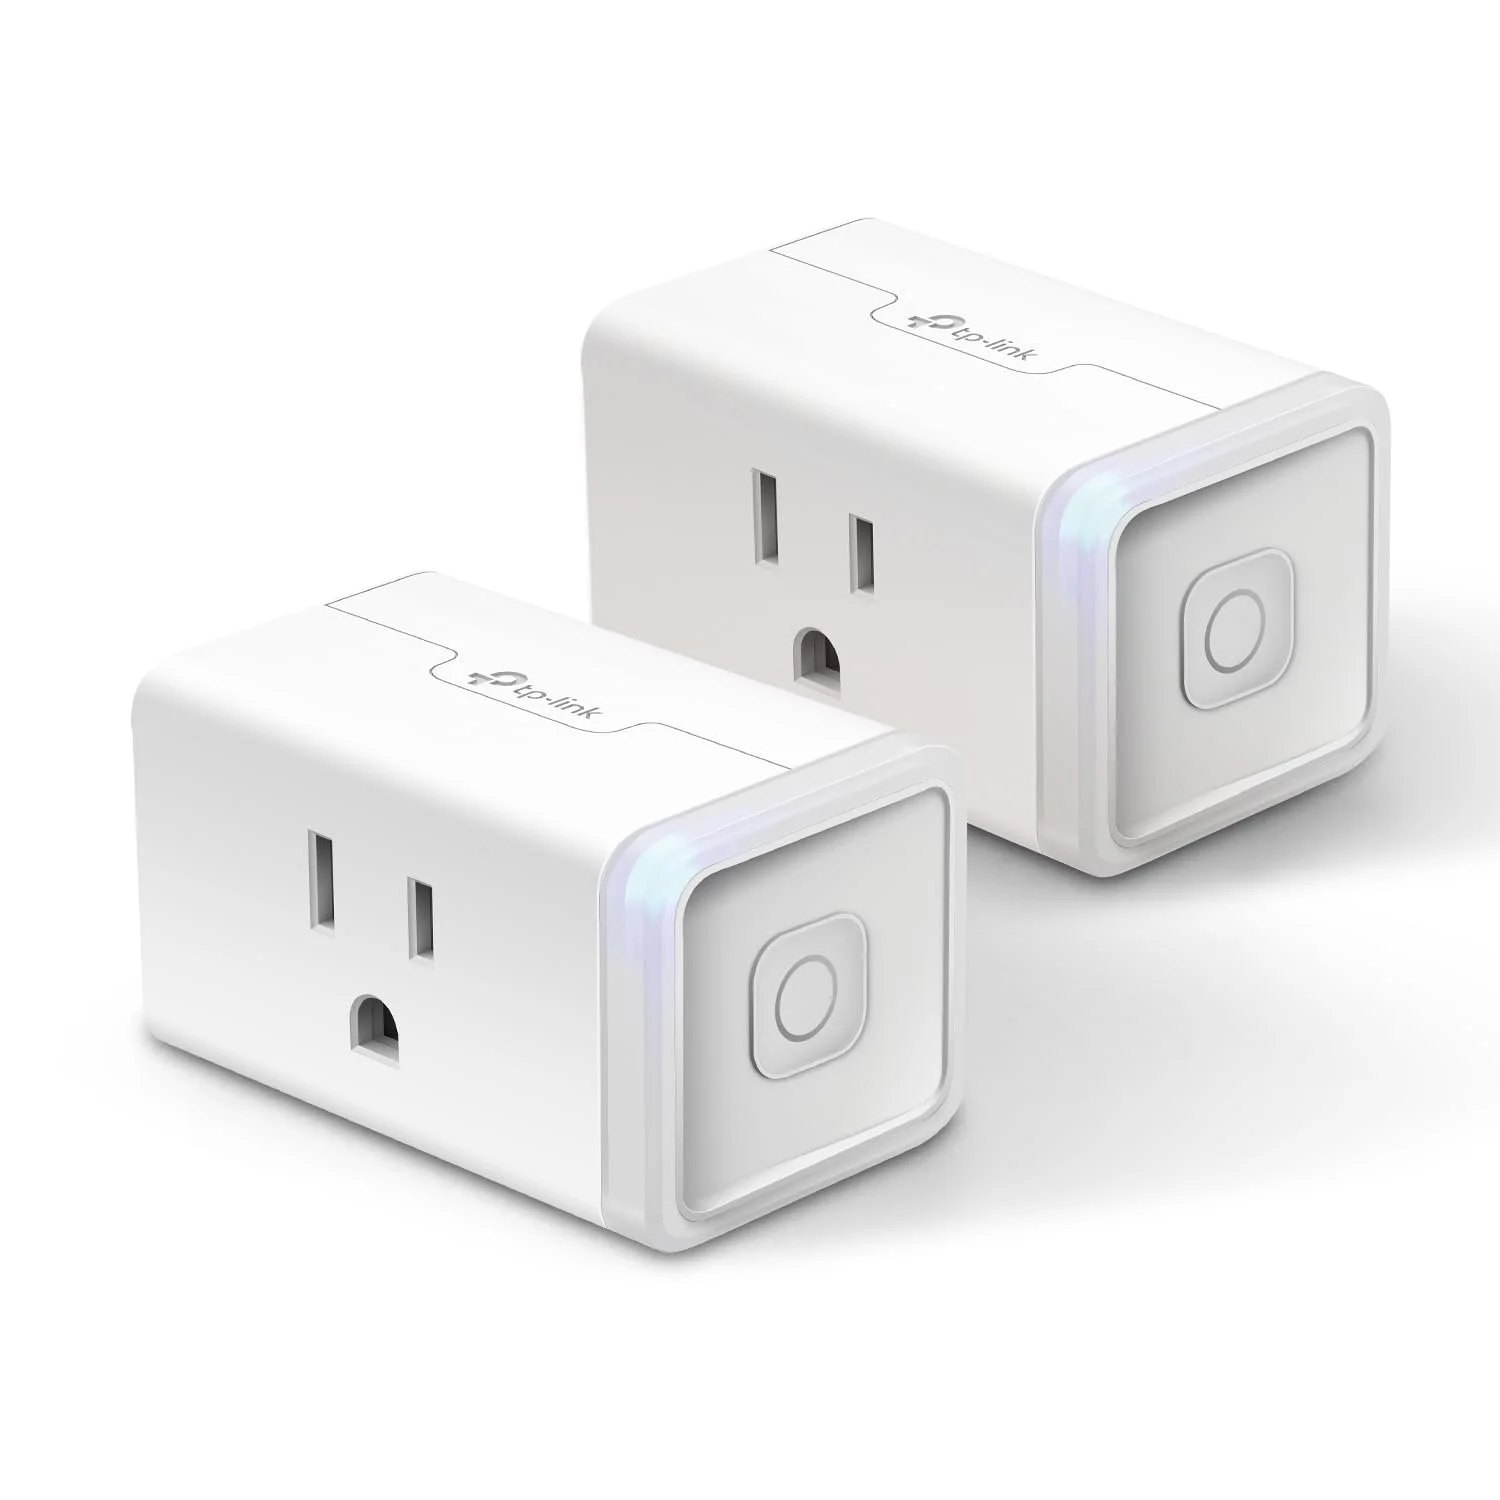
Use a smart plug with energy monitoring features to see how much power your stuff actually uses.
Plug your devices into the smart plug.
Leave it to collect data for 7 days.
See what the data shows.
Note: Do not use a smart plug for devices that use 15 amps or more, like electric heaters and large appliances.
1
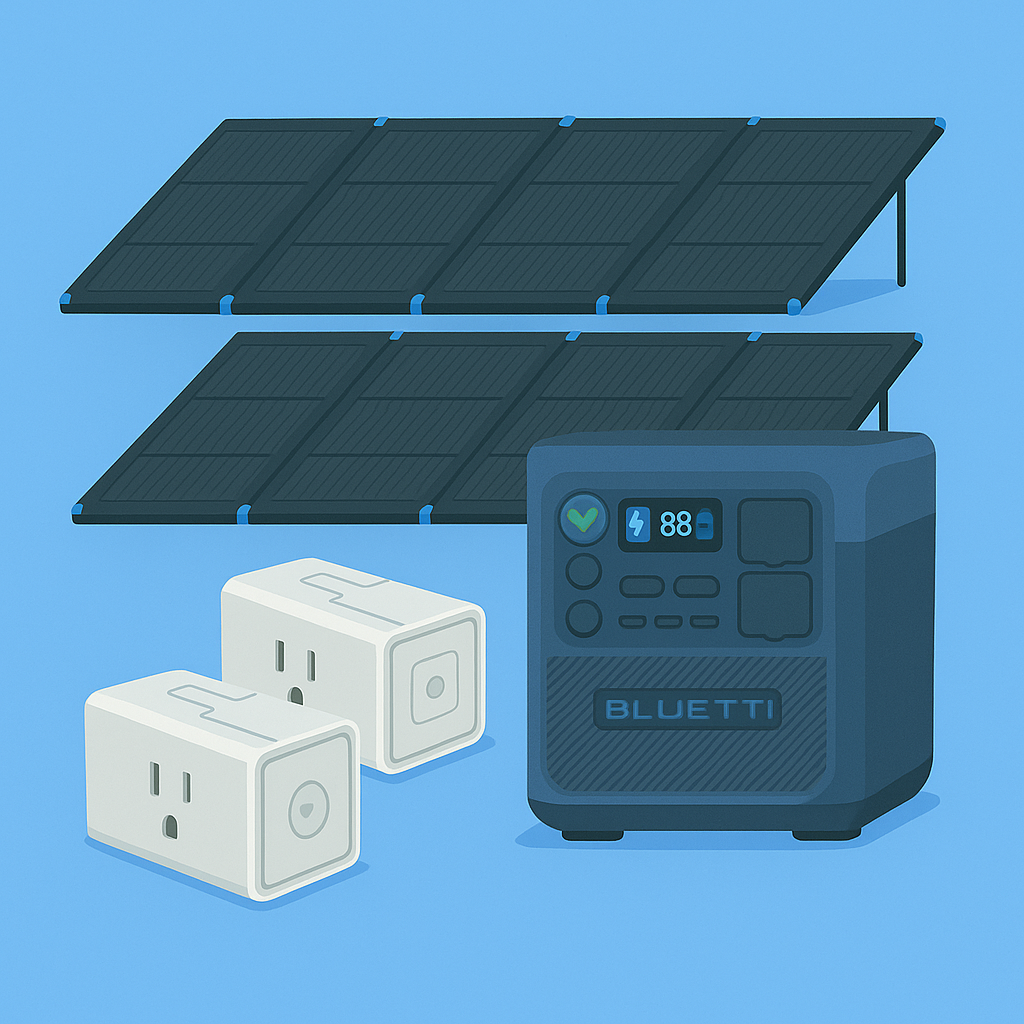
Unbox the Battery and Solar Panels, Plug them in, Plug in your stuff, Done!
After a quick and easy setup in the app you can kick back and let this run itself!
3
Your kWh Cheat Sheet:
Group A Power Use (kWh/Day): ___
Group B Power Use (kWh/Day): ___
Group C Power Use (kWh/Day): ___
Total Daily Power Used: (kWh/Day): ___
Estimated Solar Power: (kWh/Day): ___
Battery Storage Amount: (kWh/Day): ___
Select a battery & solar panels based on your real usage & available space
Full setups start less than $700!
View system payoff timeline and how much you could save.
How to find out how much power you use
Make a list of the different items that could be powered from this battery at any one time.
This is probably all of the items in this room, and maybe some items close by you could easily get a cord to if you end up with more solar power than you can use. Dream big, start small.
EG My list looked like:
Group A: Items on 24/7 =_Wh/day
Interent Modem
Wifi Router
Air Filter (on medum)
Smart speakers when, in standby/ off
Smart device hubs
Group B: Items used when in this room (4-10pm daily)
Lights
TV
Sound system
Apple TV
Phone/ Laptop Charging
Next: Connect everything from group A to the smart outlet, plug that into the wall, and let it run for a 7 days.
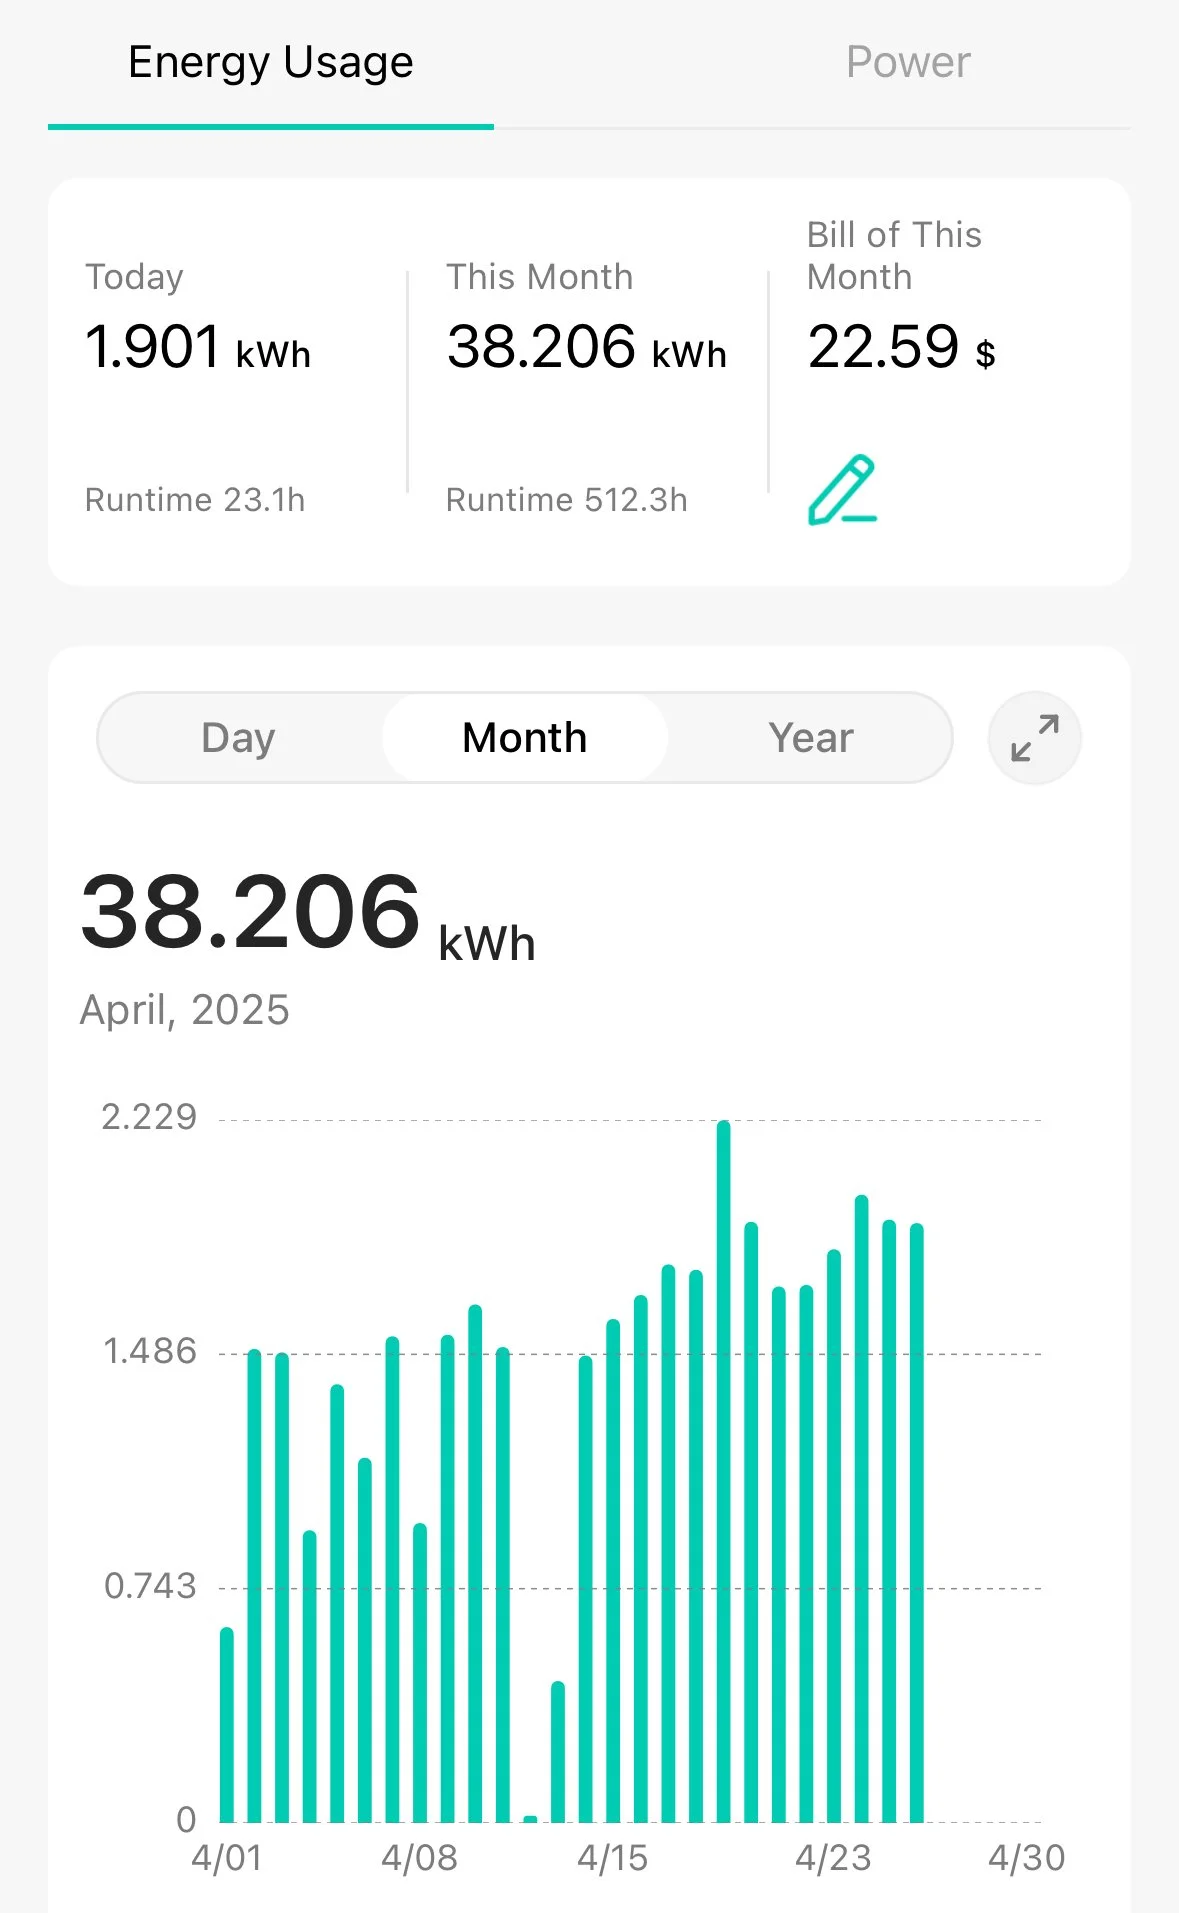
The Smart Plug APP will give you report on “Daily Average” power used over those 7 days.
Record the Daily Average kWh for this group.
Repeat this process for Group B, C, E etc.
Add up the total kWh for all groups and see where things land.
My Daily average for the devices listed above was 2,250Wh/ Day, so thought a 2kWh battery would be sufficient....
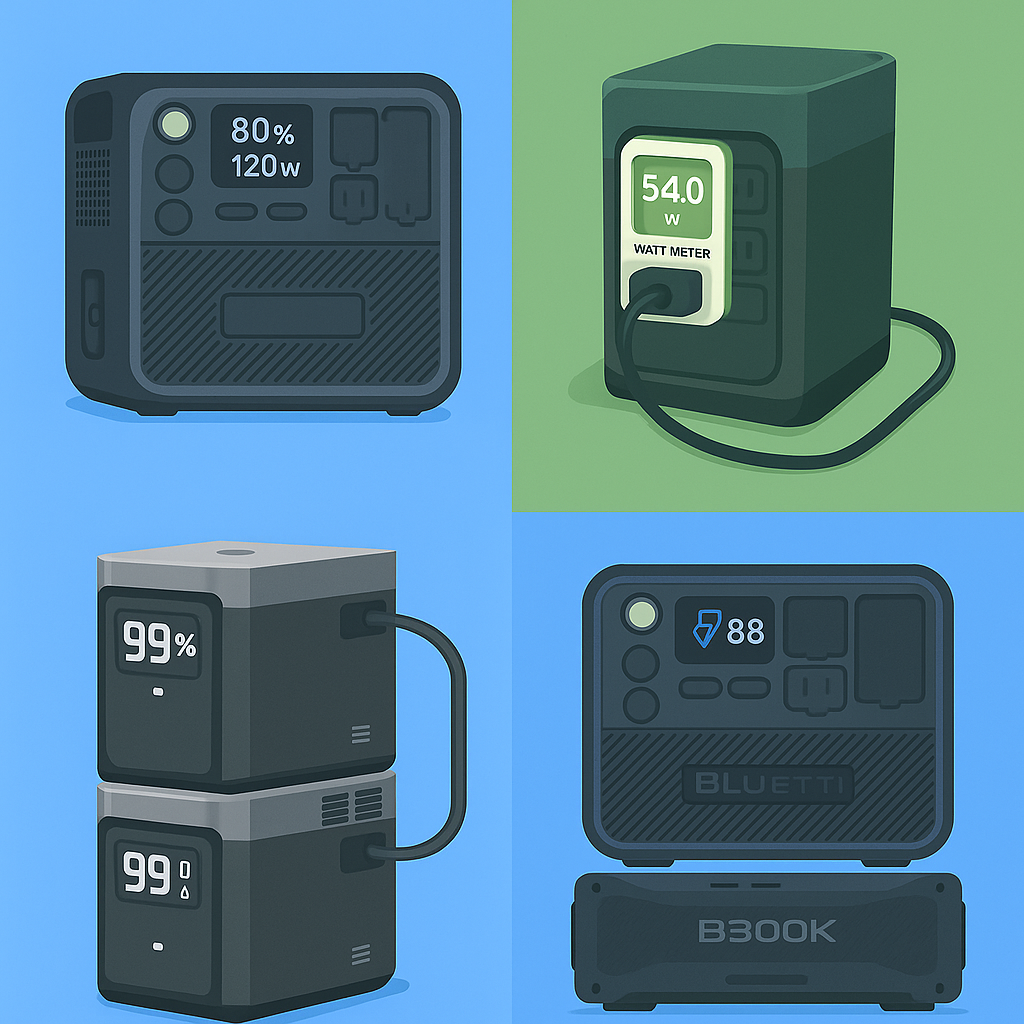
Then I learned about Battery Overhead and realized that a 2kWh battery doesn’t actually put out 2kWh of power… 🪫
Power Usage Scenarios

Putting it all together
Considering Inverter Overhead
Battery Overhead is killer! Plan for the battery to consume 20-40w per hour just being on and delivering (even a little) power.
Since this battery will be used to offload a portion of our power needs from the power grid, we assume it will be powering devices 24/7, therefore it will always be powered on.
This can drastically reduce the amount of usable power available as the battery overhead could consume 0.5 - 1.5kWh/ Day depending on the model. When sizing your battery, go 0.5-1.5kWh larger than you need to give this battery the best chance of covering 100% of your needs.
Selecting Battery Size
Use your “Average Daily Wh of power needed” to find the battery size.
1kWh/Day, Ideally ->
Battery ~ 1.5kWh
Solar: 2x220w
2kWh/Day, Ideally ->
Battery ~ 3kWh
Solar: 2 or 3 x220w
Note: Not all batteries can support an odd number of panels
3kWh/Day Ideally ->
Battery ~ 4kWh
Solar: 4x220w
EG: For my setup, with 3,200Wh/ Day of solar I went with a 2wkH battery + a 2.7kWh expansion battery. For a total of 4.7kWh battery storage.
Thats it!
Now you have what you need to choose a battery.
How many Solar Panels to get?
How many panels do you have room for?
How much power can those panels produce?
Get a Solar Forecast for PV output here >
Input your location
For “PV power” Enter the size of your total ideal solar panel out in Watts
Eg: If you want to use 2 x 220w panels, enter 440 for “PV power”.
Get your results!
EG: For my location the estimate is:
440w of solar would generate 1600 Wh/ day
600w of solar would generate 2400 Wh/ day
880w of solar would generate 3200 Wh. day
My daily need is 2,250Wh.
So I went with 4 x 220w panels (880w) or ~ 3,200Wh/ Day. Enough for some buffer for cloudy days. I’m also hoping I could add my fridge to this setup, saving even more on my power bill.